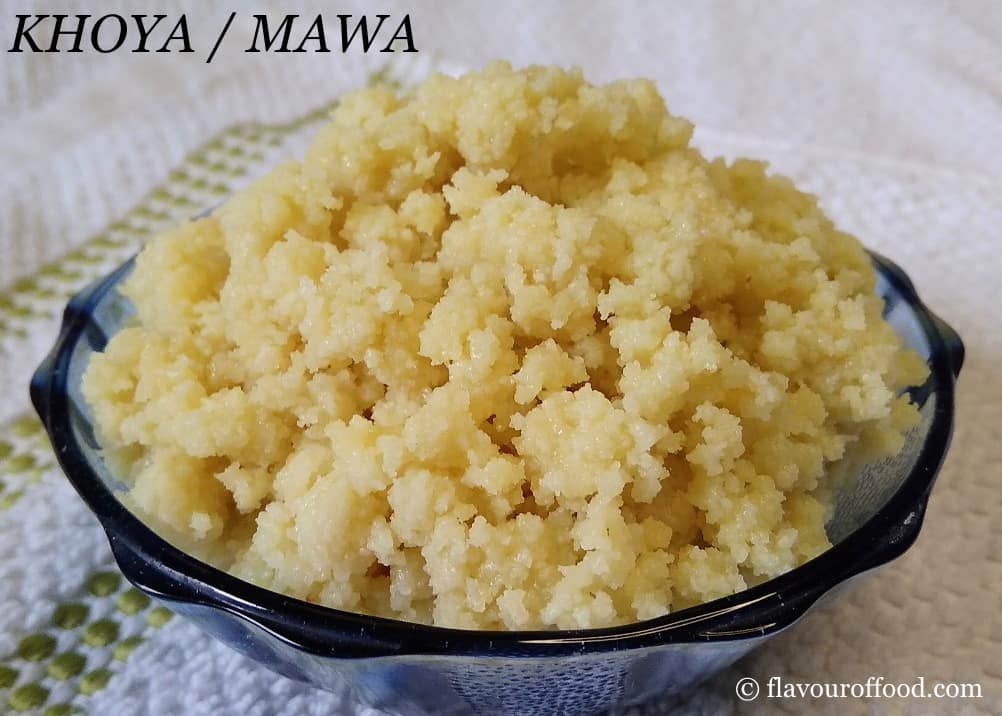
Khoya Recipe | Mawa Recipe with detailed photos. Khoya or Mawa is milk thickened by heating in an heavy bottom pan. It is a dairy product that is used in various types of Indian sweets as well as in some curry recipes.
Almost in every Indian festival, we prepare khoya based sweets. And nowadays it is very difficult to find pure khoya/mawa without any additives. Hence homemade khoya is always the best option for making sweets. The process of making homemade khoya takes time but its taste and texture is far better than the store brought.
For this recipe, 1-liter full cream milk is used which makes about 1 ½ cup khoya. But the quantity of khoya can be more or less, it depends on the milk quality.
You can also use khoya to make Ukadiche Modak, Paneer Butter Masala
Do check our other cooking basics recipe- Homemade Paneer, Chocolate Peanut Butter
Ingredients
1-liter full cream milk
How to make khoya / mawa
1. Take a heavy bottom pan or kadhai and add 1-liter full cream milk.
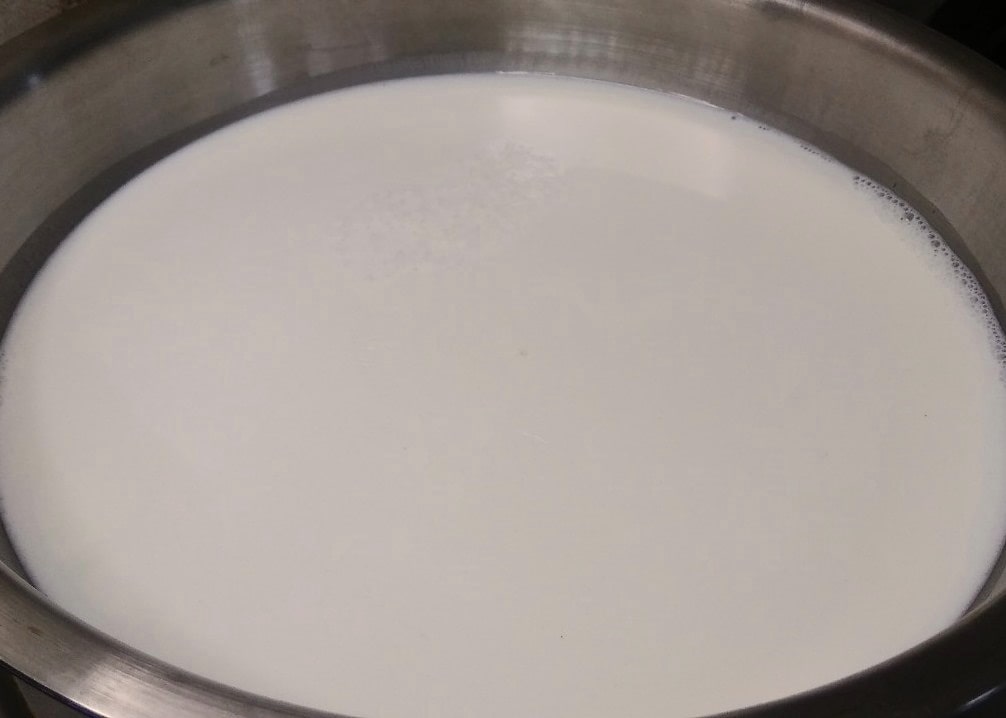
2. Boil the milk on medium-high flame.
3. Frequently stir the milk to avoid sticking to the pan and spill from the pan.
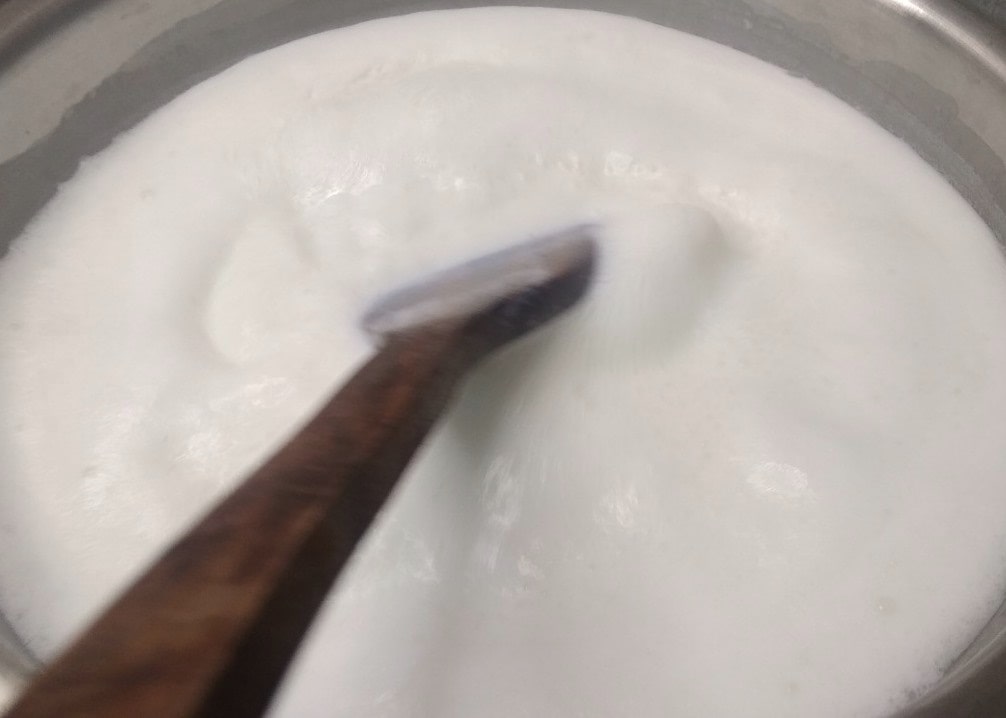
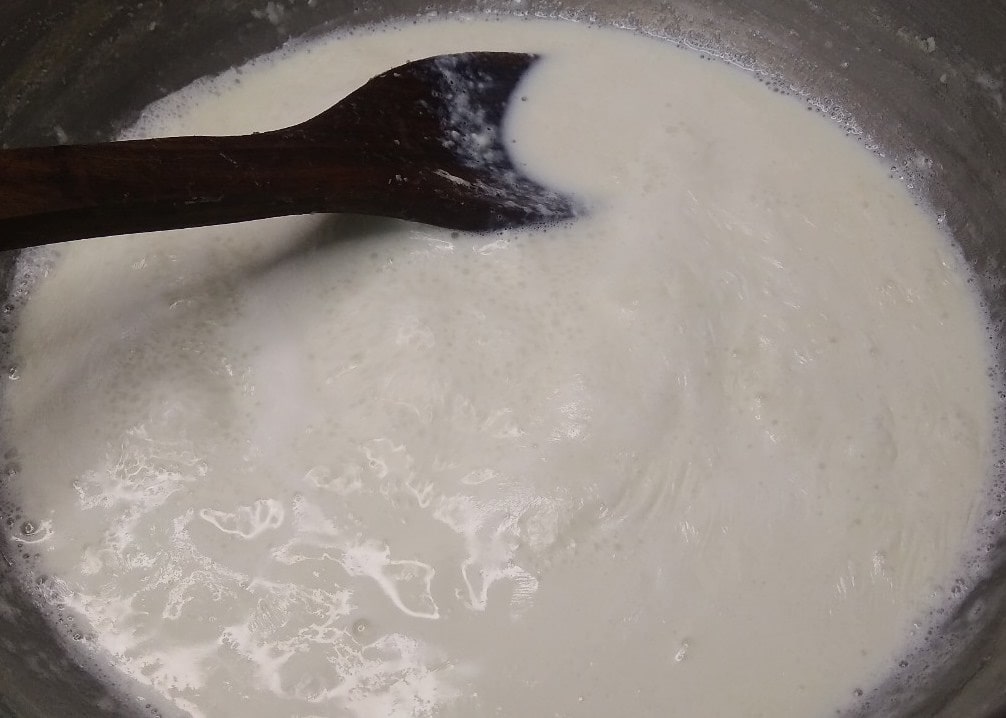
4. After 15 minutes, milk looks a little thick.
5. Scratch the milk solids from the sides of the pan and add to milk.
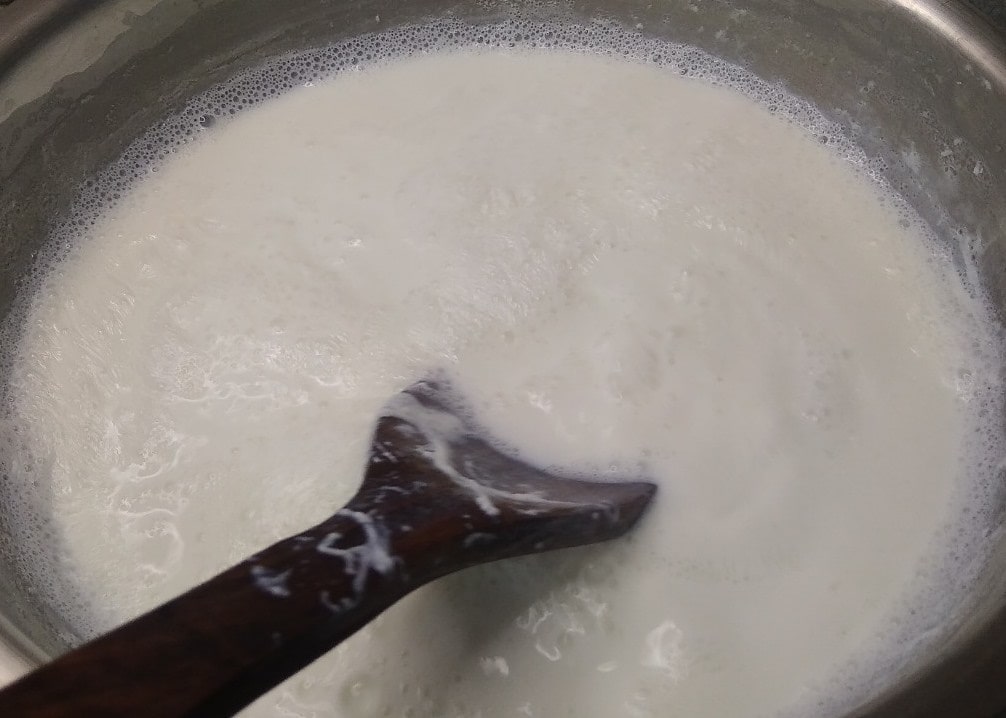
6. After 30 minutes, you can see the milk is reduced to half.
7. Continuously stir the milk.
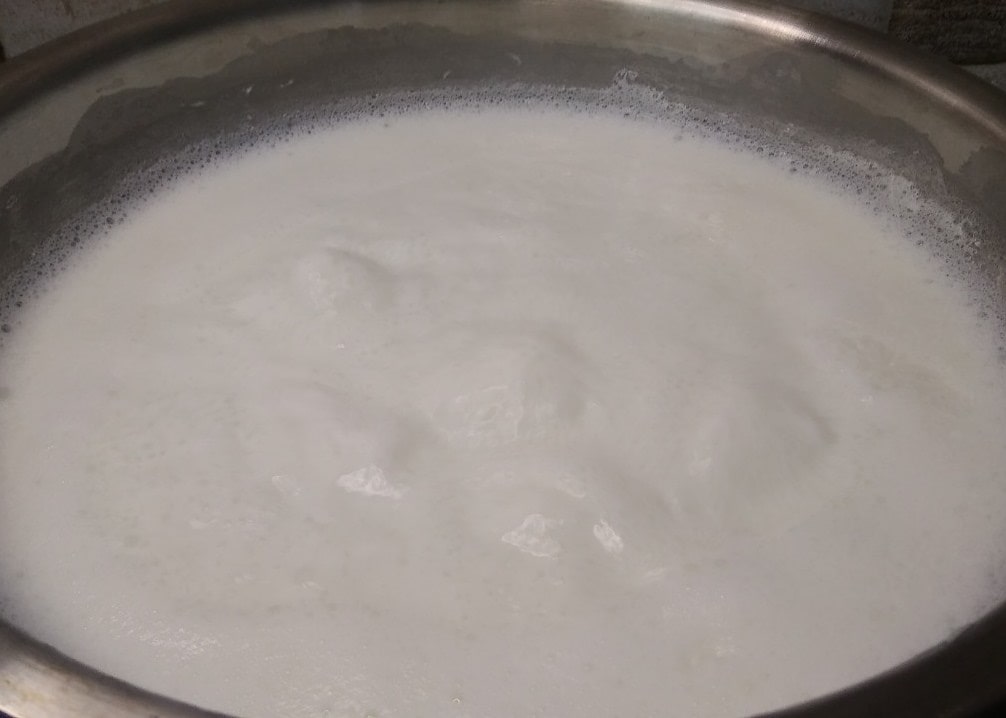
8. Whenever foam appears, stir the milk very well.
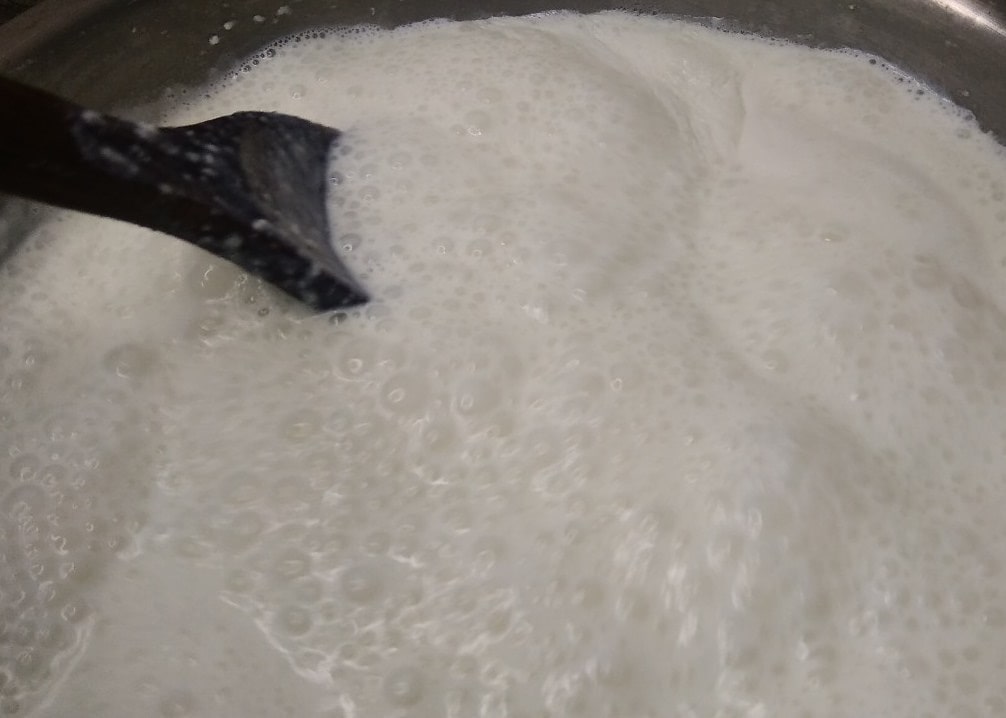
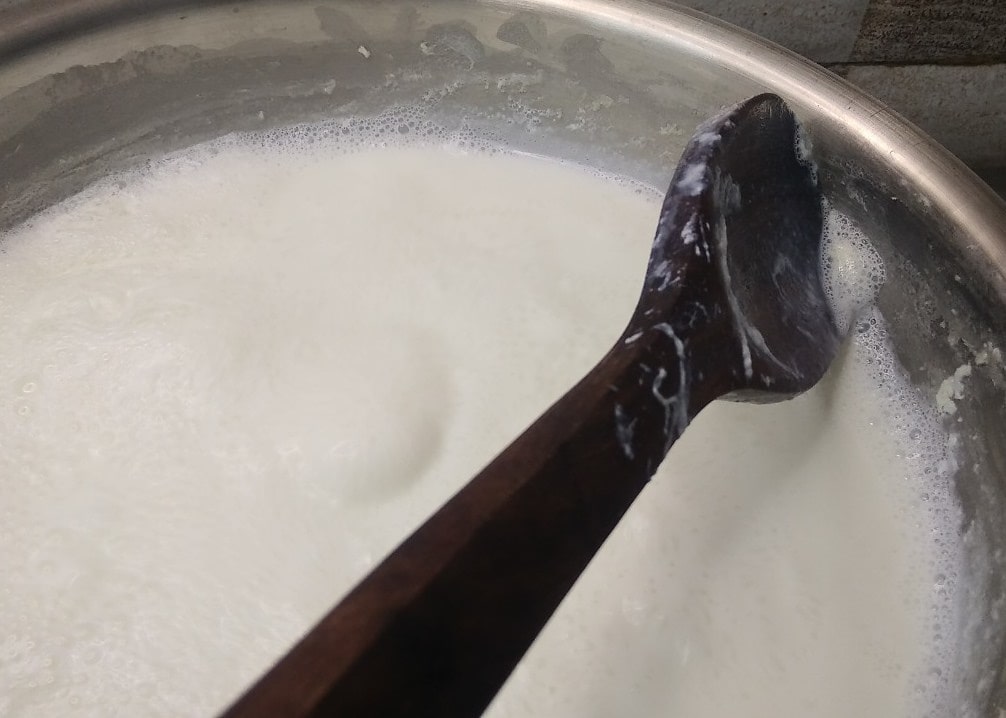
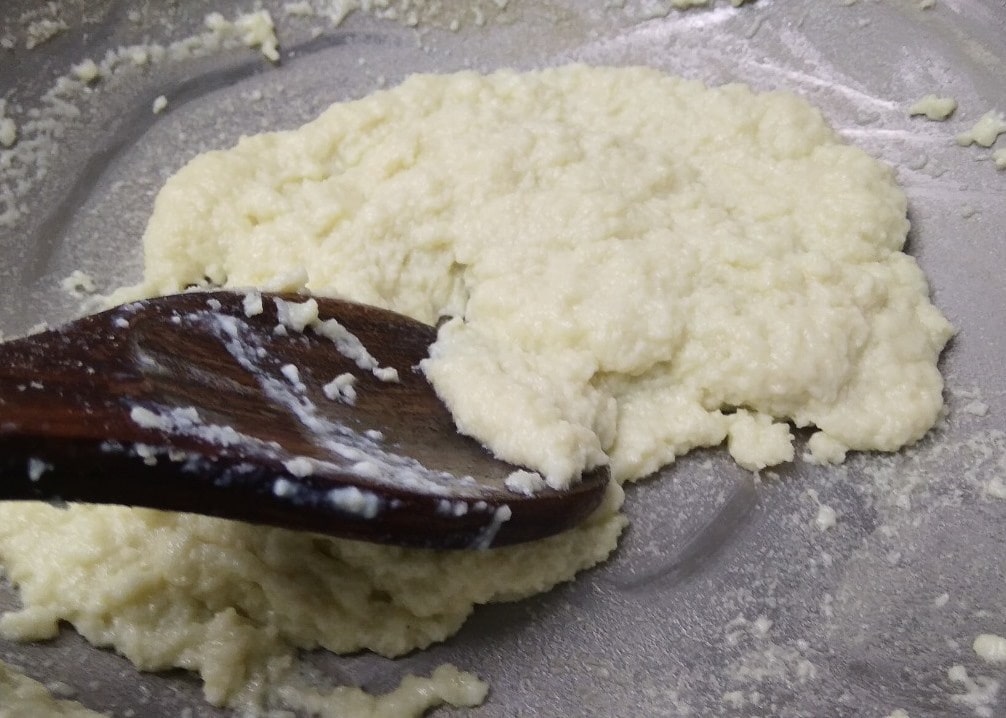
9. When you see the consistency of milk as shown below, continuously stir the milk otherwise it will burn from the bottom.
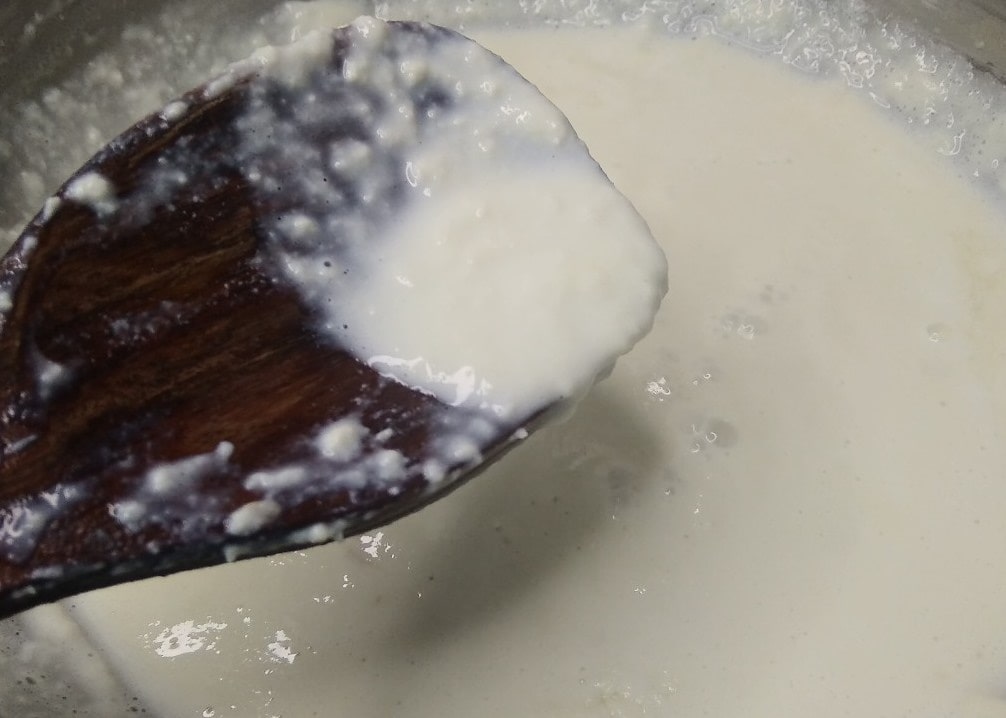
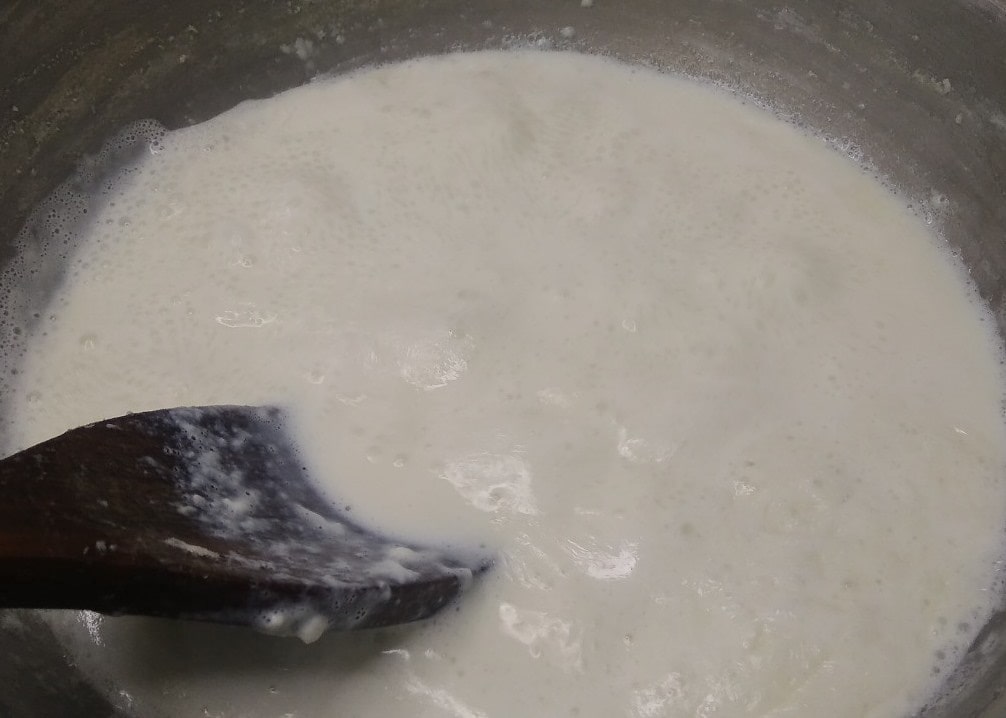
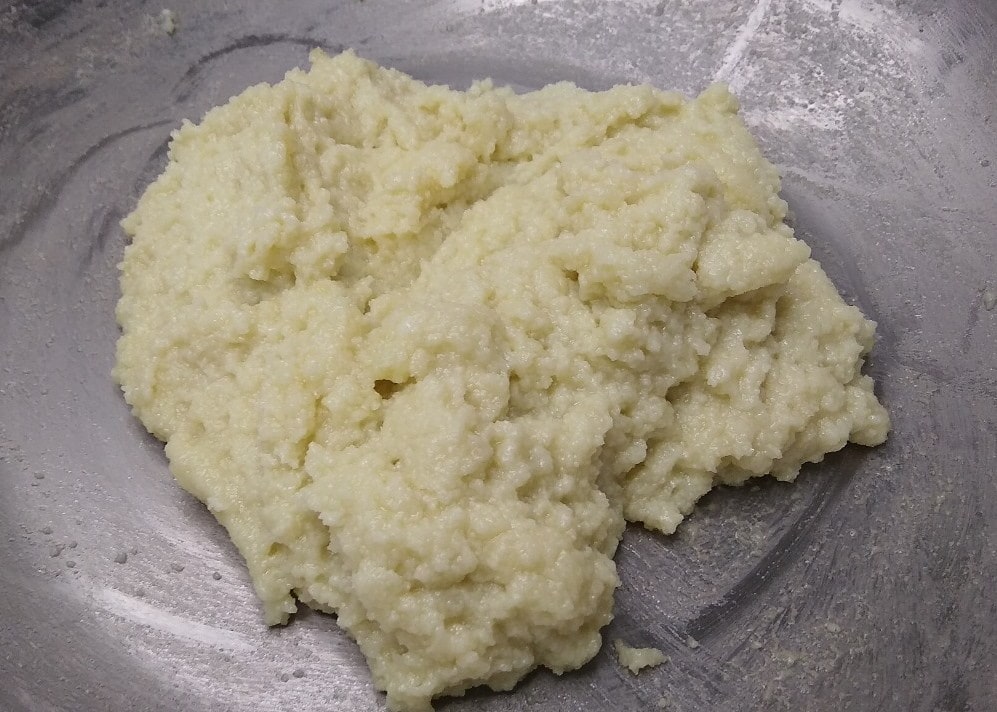
10. Stir and boil the milk until it becomes semi-solid. At the same time, keep scraping the milk solids from the sides of the pan.
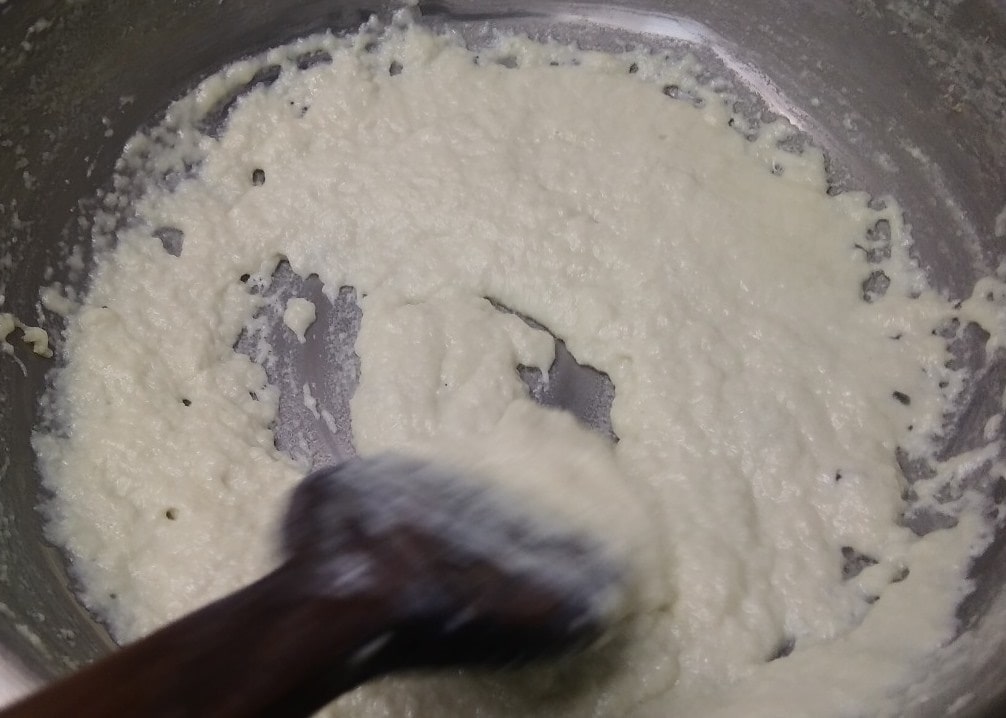
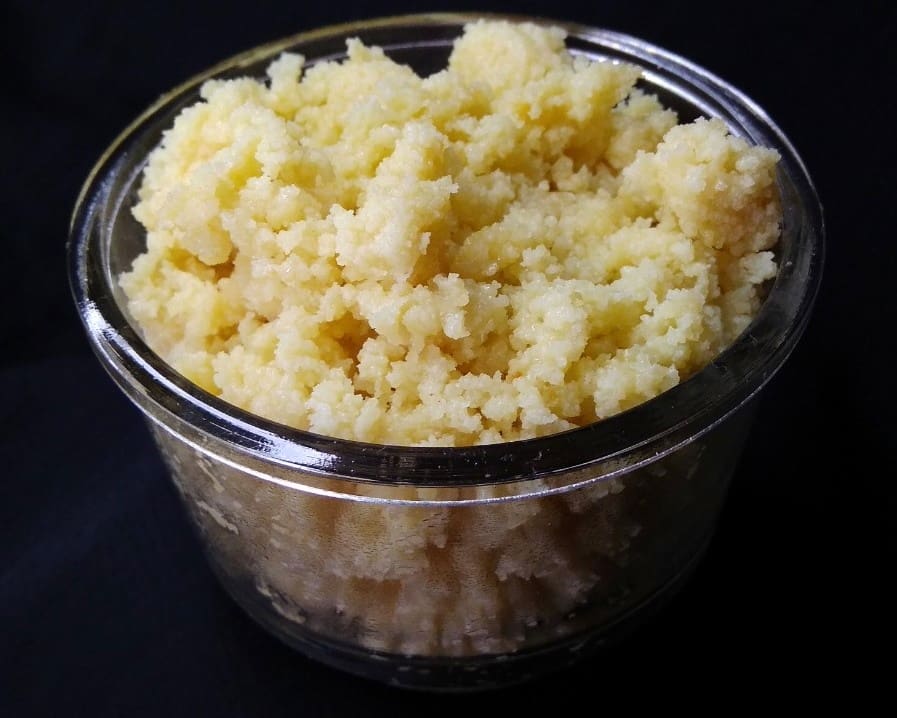
11. After some time mawa / khoya looks dry and chunky in texture. Now switch off the flame. It took me about an hour to make this mawa/khoya.
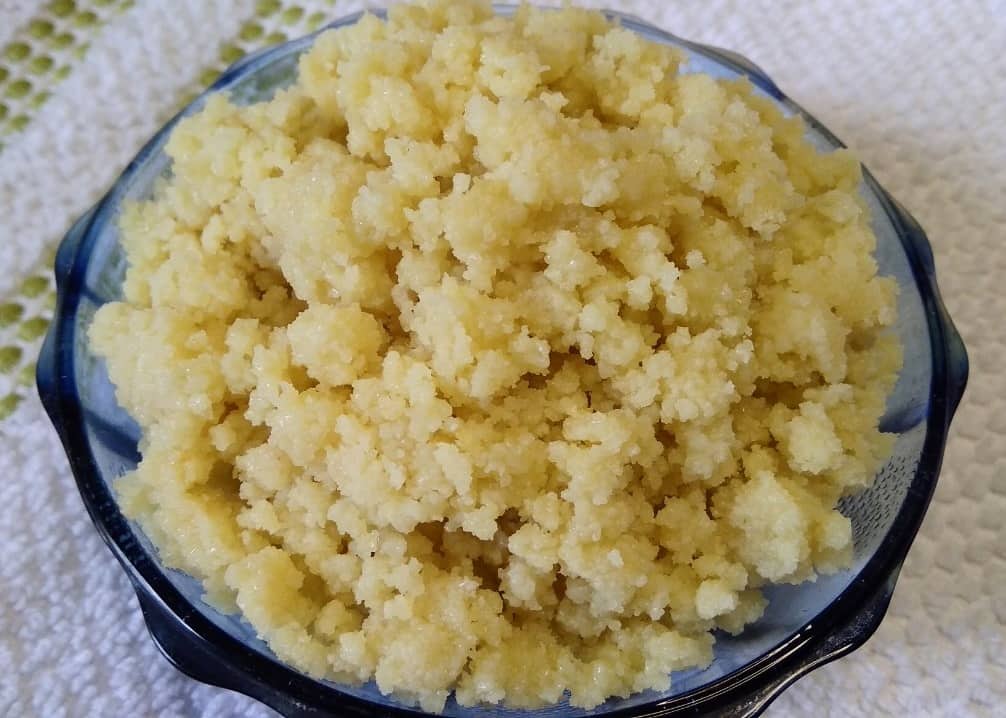
12. Let the khoya / mawa cool down at room temperature.
13. Homemade Mawa / Khoya is ready to use.
Suggestion
1. You can store the khoya in the refrigerator for 3-4 days.
2. Use heavy bottom pan or kadhai for making khoya.
3. The time for making khoya will also vary. It depends upon the size of the pan and on the quality of milk.
Recipe Card for Khoya Recipe
Khoya / Mawa Recipe

Khoya or Mawa is milk thickened by heating in an heavy bottom pan and is used in various types of Indian sweets as well as in some curry recipes.
Ingredients
- 1-liter full cream milk
Instructions
How to make khoya / mawa
- Take a heavy bottom pan or kadhai and add 1-liter full cream milk.
- Boil the milk on medium-high flame.
- Frequently stir the milk to avoid sticking to the pan and spill from the pan.
- After 15 minutes, milk looks a little thick.
- Scratch the milk solids from the sides of the pan and add to milk.
- After 30 minutes, you can see the milk is reduced to half.
- Continuously stir the milk.
- Whenever foam appears, stir the milk very well.
- When you see that the milk is getting thick, continuously stir the milk otherwise it will burn from the bottom.
- Stir and boil the milk until it becomes semi-solid. At the same time, keep scraping the milk solids from the sides of the pan.
- After some time mawa/khoya looks dry and chunky in texture. Now switch off the flame. It took me about an hour to make this Mawa/Khoya.
- Let the Mawa cool down at room temperature.
- Homemade Mawa/Khoya is ready to use.
Nutrition Information
Yield
1Serving Size
1 ½ CupAmount Per Serving Calories 627Total Fat 33gSaturated Fat 19gTrans Fat 0gUnsaturated Fat 10gCholesterol 103mgSodium 442mgCarbohydrates 49gFiber 0gSugar 52gProtein 32g
*Percent Daily Values are based on a 2,000 calorie diet. Your daily values may be higher or lower depending on your calorie needs.